


Scheduling emails in Gmail is a powerful feature that helps you send messages at the perfect time. Whether you’re coordinating across time zones or planning future correspondence, Gmail’s scheduling tool is simple and efficient. This guide walks you through the steps to schedule emails and provides tips for making the most of this feature.
1. Understanding Gmail’s Email Scheduler
Gmail’s built-in scheduling feature lets you draft an email and set it to send at a specific date and time. The feature works seamlessly across Gmail’s desktop and mobile apps, making it versatile and accessible.
2. Benefits of Scheduling Emails
Scheduling emails offers numerous advantages:
- Time Management: Prepare messages in advance and send them at the right time.
- Professional Timing: Ensure your emails reach recipients during working hours.
- Cross-Time Zone Coordination: Avoid sending messages at inconvenient hours for recipients in different time zones.
3. Scheduling Emails on Desktop
Follow these steps to schedule emails using Gmail on a desktop browser:
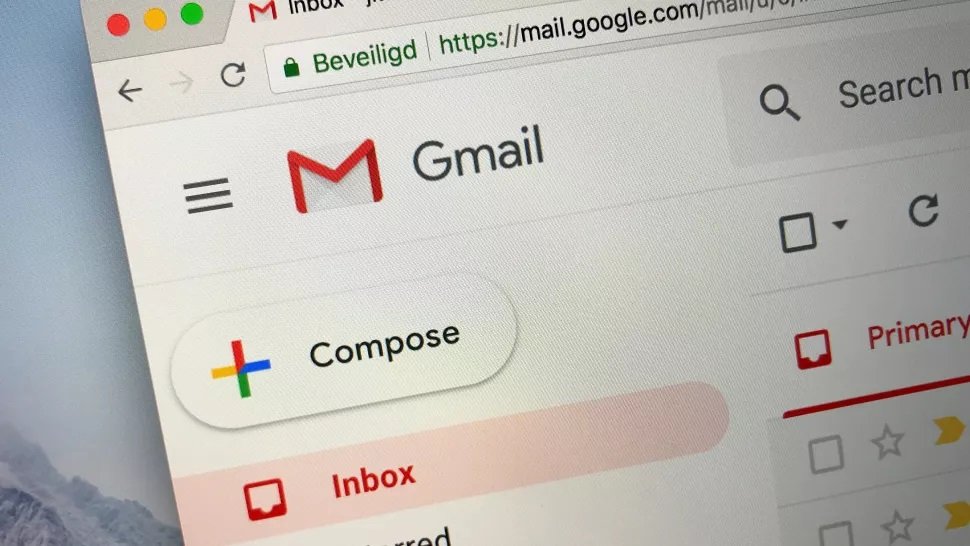
- Open Gmail and click the Compose button to create a new email.
- Enter the recipient’s email address, subject line, and email content.
- Click the downward arrow next to the Send button.
- Select Schedule send from the dropdown menu.
- Choose a suggested time or click Pick date & time to set a custom schedule.
- Confirm your selection, and Gmail will queue the email for sending at the specified time.
4. Scheduling Emails on Mobile
To schedule emails in the Gmail app for mobile devices:
- Open the Gmail app and tap the Compose button.
- Fill in the recipient’s details, subject line, and email body.
- Tap the three vertical dots in the top-right corner of the screen.
- Select Schedule send from the menu.
- Choose from Gmail’s suggested times or set a custom date and time.
- Tap Save to schedule your email.
5. Managing Scheduled Emails
Gmail stores all scheduled emails in a dedicated folder labeled Scheduled. To manage these emails:
- Navigate to the Scheduled folder in your Gmail account.
- Open any scheduled email to view or edit its details.
- Click Cancel send if you need to make changes. This action moves the email back to your drafts folder, allowing you to modify and reschedule it.
6. Tips for Effective Email Scheduling
- Know Your Recipient’s Time Zone: Schedule emails to reach recipients during their working hours.
- Avoid Over-Scheduling: Be mindful of spacing out emails to avoid overwhelming your recipient.
- Review Content Before Scheduling: Double-check your email for accuracy and professionalism before scheduling it.
7. Troubleshooting Scheduling Issues
If you encounter issues with email scheduling:
- Check Your Internet Connection: A stable connection is essential for scheduling emails.
- Verify Gmail Settings: Ensure you’re signed in to the correct account and have the latest version of Gmail.
- Review Time Zone Settings: Confirm that your device’s time zone matches your intended schedule.
Conclusion
Scheduling emails in Gmail is a game-changer for productivity and communication. By using this feature, you can ensure your messages are delivered at the optimal time, enhancing your efficiency and professionalism. Whether you’re using Gmail on desktop or mobile, email scheduling is a tool every user should master.


